This is a read-only mirror of pymolwiki.org
Difference between revisions of "Gallery"
Jump to navigation
Jump to search
m |
(No difference)
|
Revision as of 19:13, 3 August 2011
| Cool PyMOL-generated Images and their Scripts. Add Your Own |
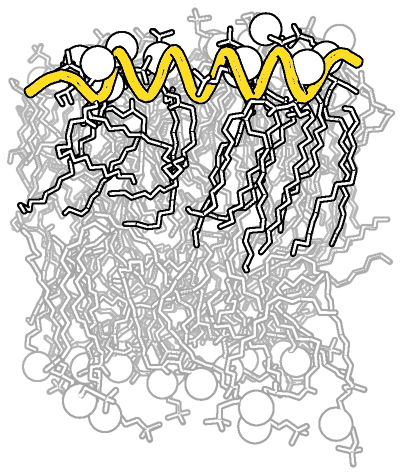
| Complex B&W outline representation | What To Type | |||||
|
# first load lipid model
load lipids.pdb;
# hide the initially loaded representation
hide all;
# set background color to white
bg_color white;
# show lipid model as sticks
show sticks, lipids;
# color the lipids model by element CHNOS #2 (carbon green)
util.cbag lipids;

# select all hydrogens and remove them from the model
select hideme, hydro;
hide everything, hideme;
delete hideme;

# create phosphate spheres
create phos, elem p;
hide everything, phos;
show spheres, phos;

# load helix model
load helix.pdb;
# hide the initially loaded representation
hide everything, helix;
# make the helical struct into a cartoon form
show cartoon, helix;
# style the cartoon form
cartoon putty;

# reposition the helix among the lipids using
# the 3-Button Editing Mouse Mode
# basically
# Shift+Left Mouse to rotate the helix
# Shift+Middle Mouse to move the helix
# also, you may want to make liberal use of the
# get_view and set_view commands.
#
# When you have the scene set like you want,
# continue with...

# move the model to find the view you want,
# and use get_view to get the coordinate description
get_view;

# set ray_trace_mode to black and white outline
set ray_trace_mode, 2;
|
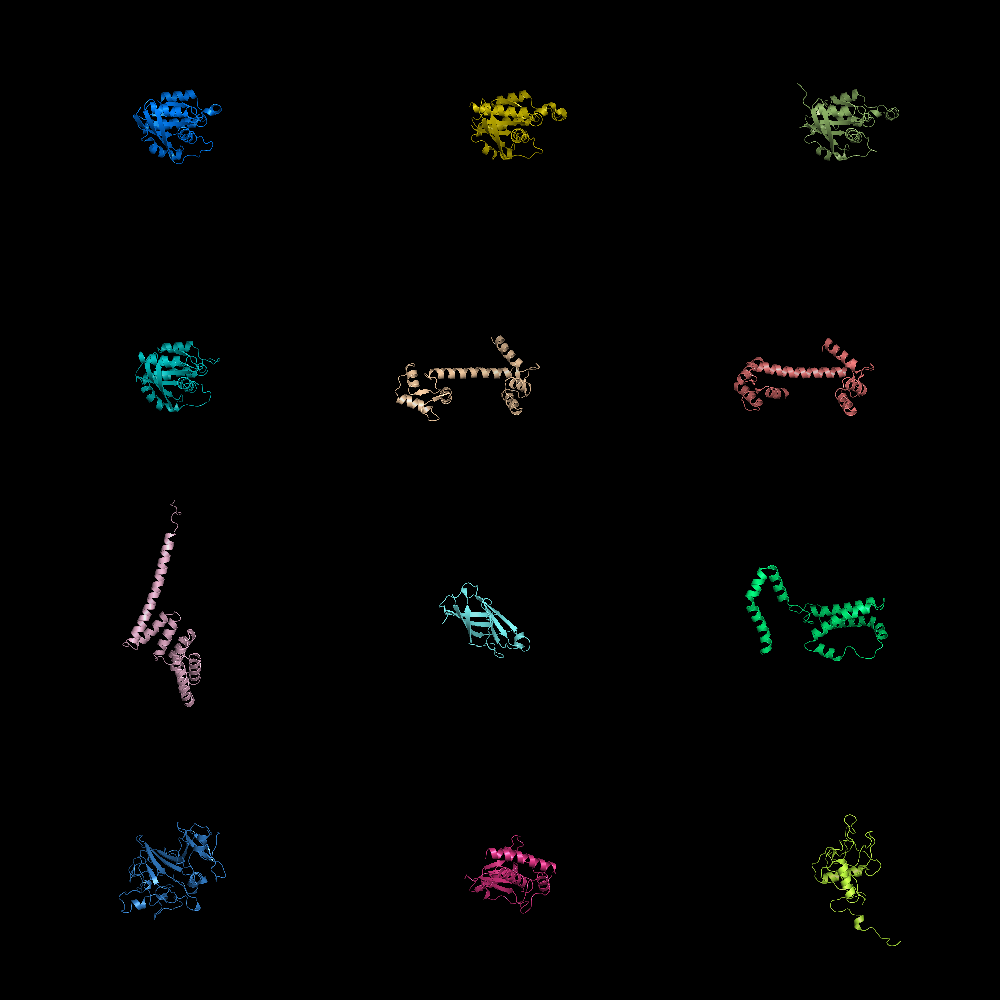
| Grid Mode | What To Type | |||||
|
fetch 1cll 1sra 1ggz 5pnt 1rlw 1cdy;
set grid_mode
Hint: You may wish to execute the 'reset' command on the command line after running this mode to get full molecules in view of window and centered in a more useable manner. |
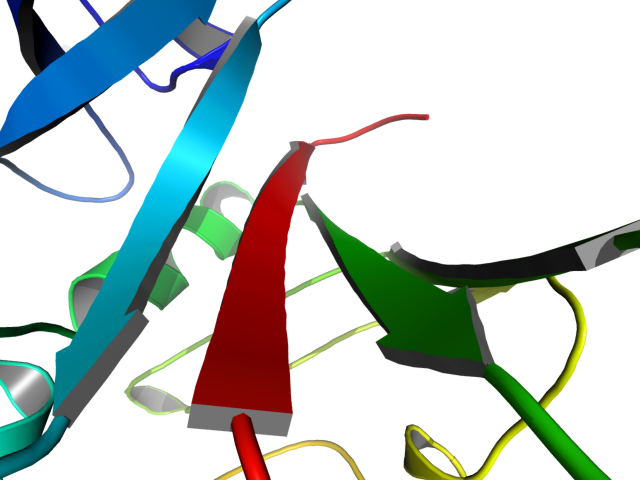
| Cool Perspective | What To Type | |||||
|
load prot.pdb;
zoom i. 46-49 and n. CA
set field_of_view, 60
ray
|
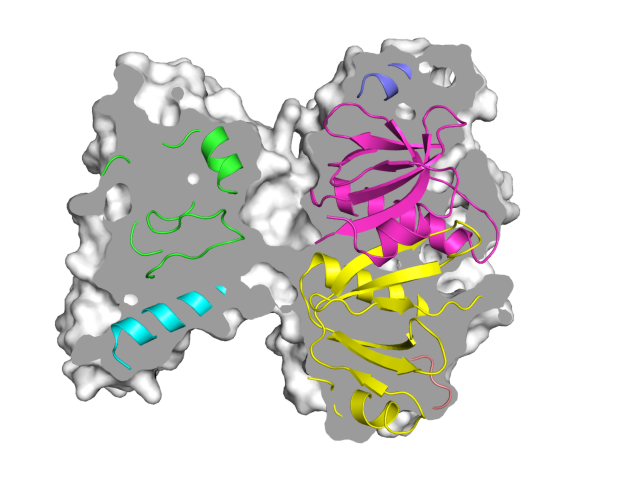
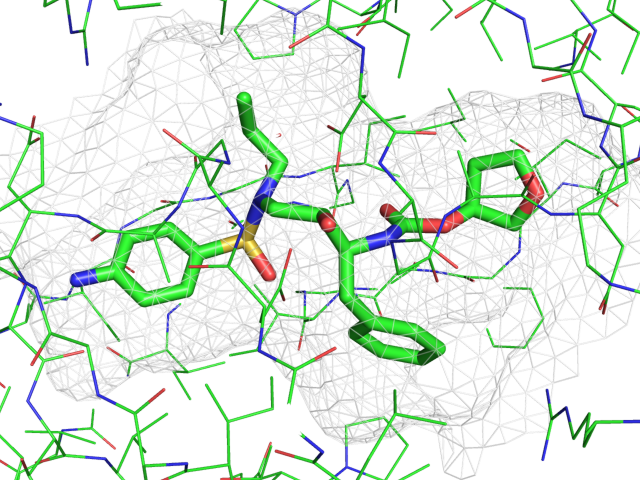
| Representing a binding pocket | What To Type | |||||
|
load $TUT/1hpv.pdb, tmp
extract lig, organic
extract prot, polymer
delete tmp

set surface_carve_cutoff, 4.5
set surface_carve_selection, lig
set surface_carve_normal_cutoff, -0.1

show surface, prot within 8 of lig
set two_sided_lighting
set transparency, 0.5
show sticks, lig
orient lig

set surface_color, white
set surface_type, 2  # mesh
unset ray_shadows
|
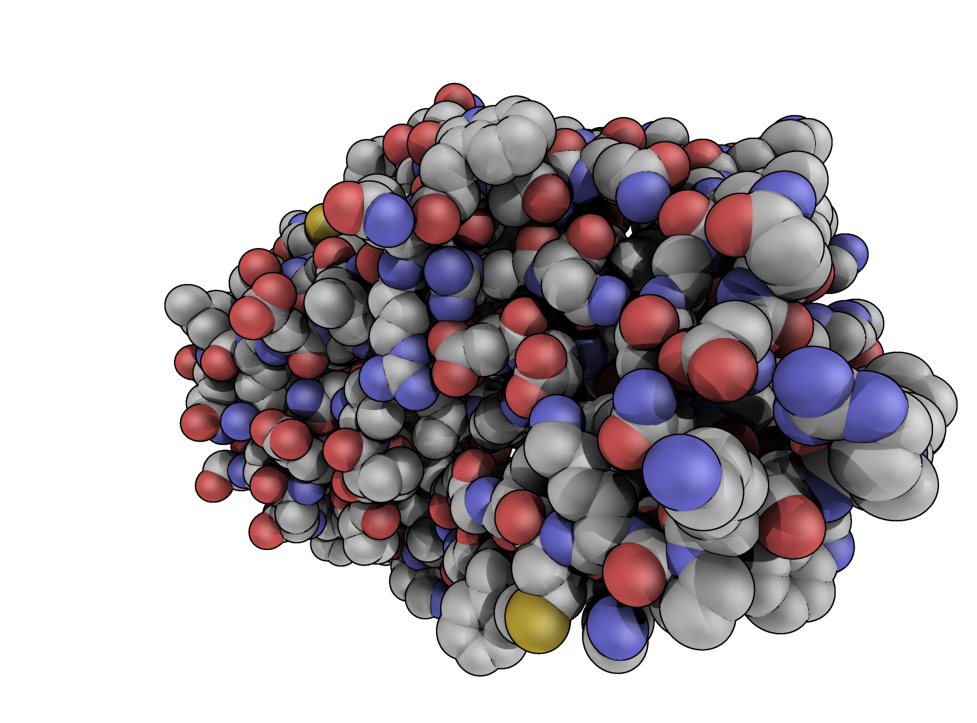
| QuteMol Like | What To Type | |||||
|
load $TUT/1hpv.pdb
set_color oxygen, [1.0,0.4,0.4]
set_color nitrogen, [0.5,0.5,1.0]
remove solvent
as spheres
util.cbaw
bg white
set light_count,10
set spec_count,1
set shininess, 10
set specular, 0.25
set ambient,0
set direct,0
set reflect,1.5
set ray_shadow_decay_factor, 0.1
set ray_shadow_decay_range, 2
unset depth_cue
# for added coolness
# set field_of_view, 60
ray
|
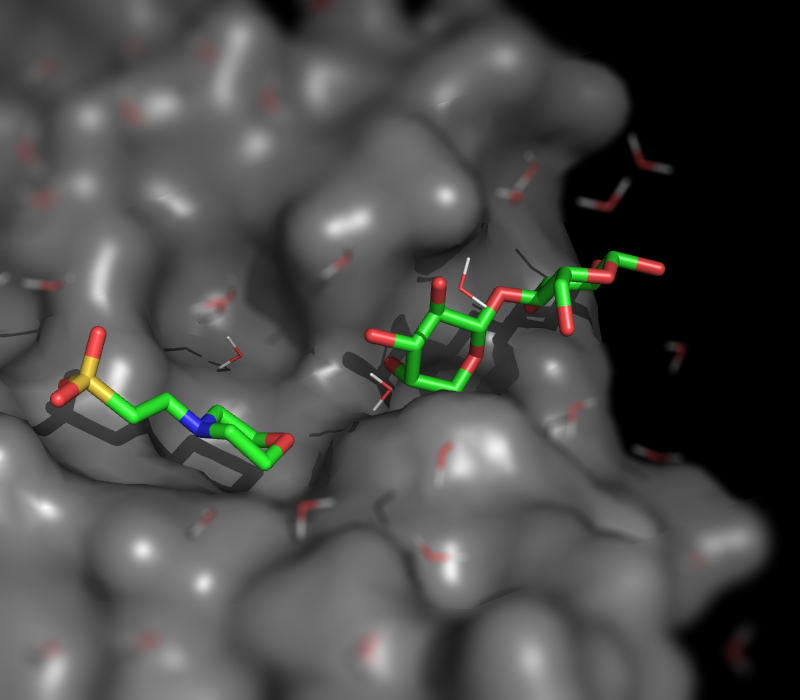
| Simulating Tilt-shift | What To Type | |||||
|
fetch 1wld
as surface, poly
as sticks, org
h_add solvent
color grey, poly
orient org
png img.png
# now, go into Photoshop or the GIMP and apply a Gaussian or
# Focus blur to the top and bottom portions of the image
|
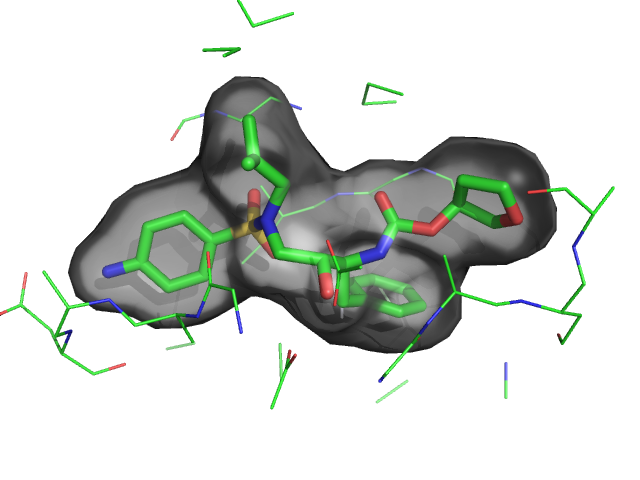
| Ray-normal-based transparency | What To Type | |||||
|
# grey surface
set surface_color, grey

# cavity mode
set surface_mode, 3

# layered transparency mode
set transparency_mode, 1

# surface transparency
set transparency, 0.5

# oblique and contrast define the
# look of the surface transparency:
# if the normal vector is
set ray_transparency_oblique
set ray_transparency_oblique_power, 8
set ray_transparency_contrast, 7

# fetch a protein, with a
# small molecule in a nice
# hidden pocket
fetch 1hpv, async=0

hide

# show the small molecule as surface
show surface, org

# arrange the view
orient org

# zoom back a little
zoom org, 1

# show the small molecule inside as sticks
show sticks, org

# show some nearby sidechains
show lines, poly within 5 of org

# enable frame caching for playback
set cache_frames, 1

set ray_trace_frames, 1

mset 1x120

movie.roll 1, 120, 1, x

mplay

# now sit back and wait 5 minutes...
|
