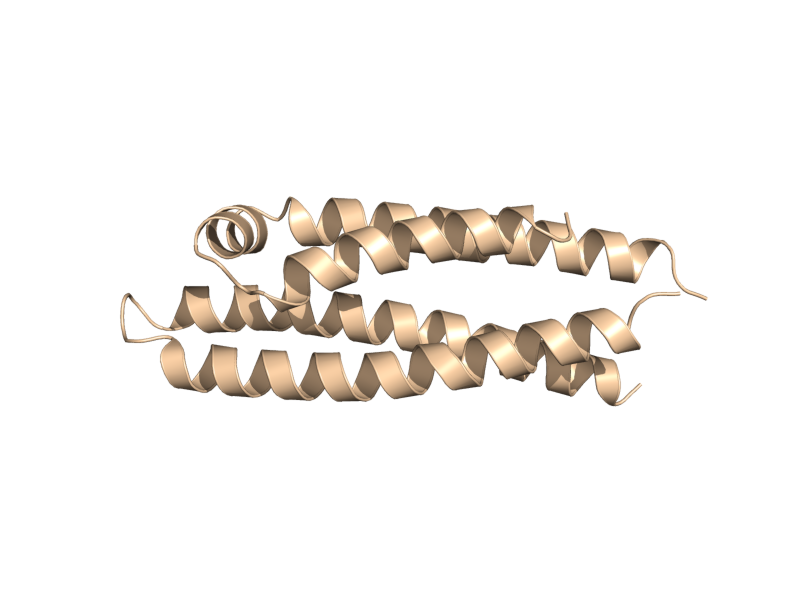
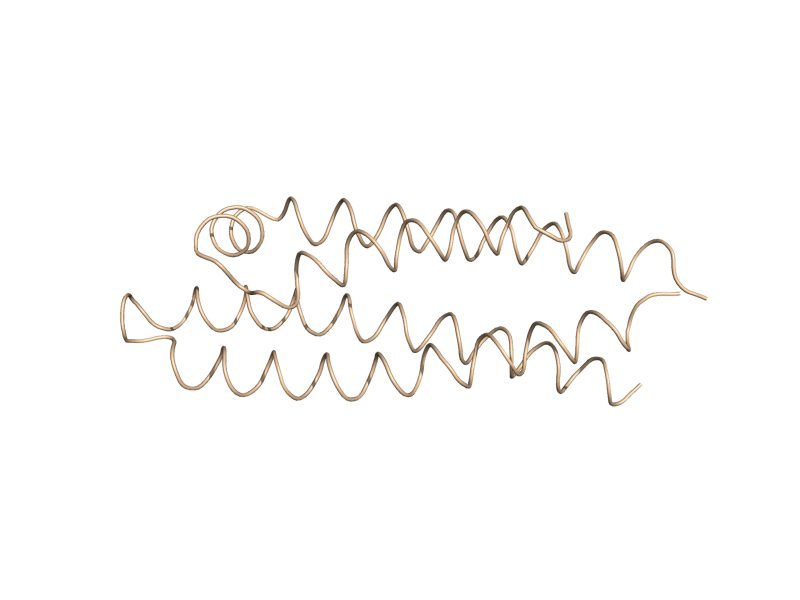
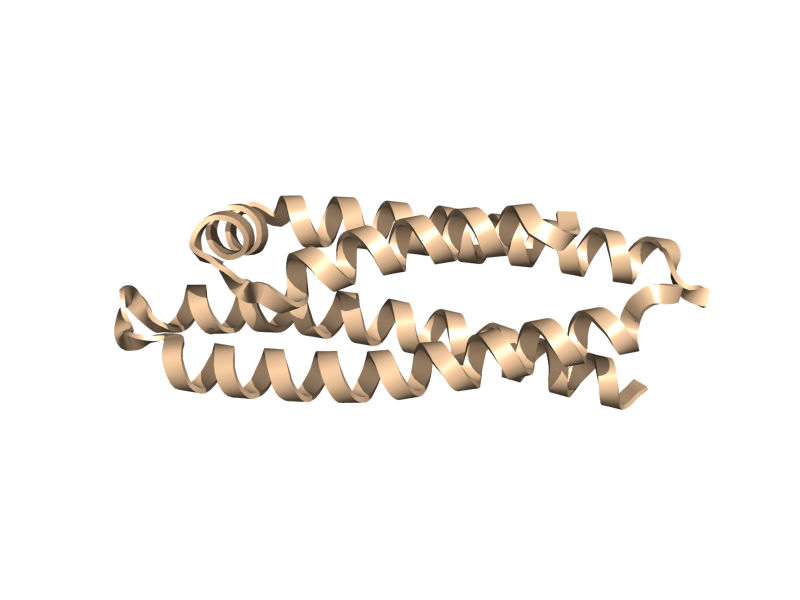
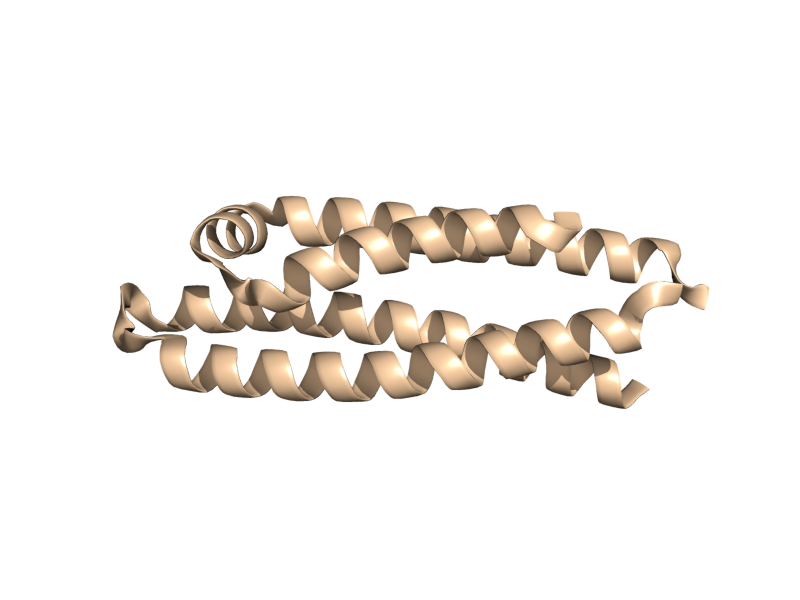
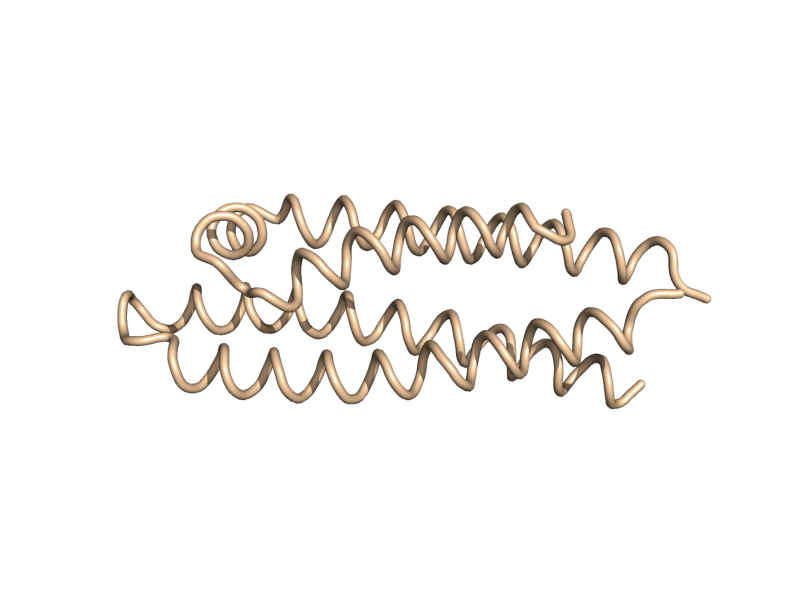
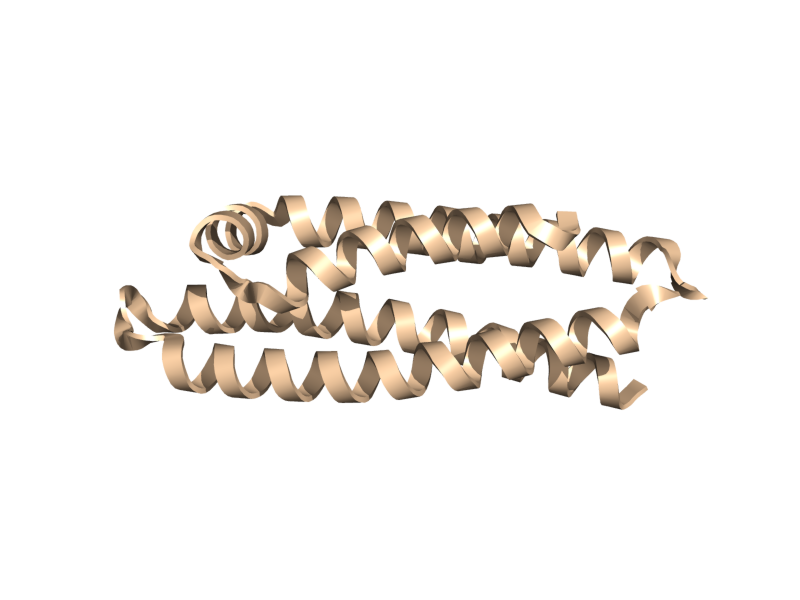
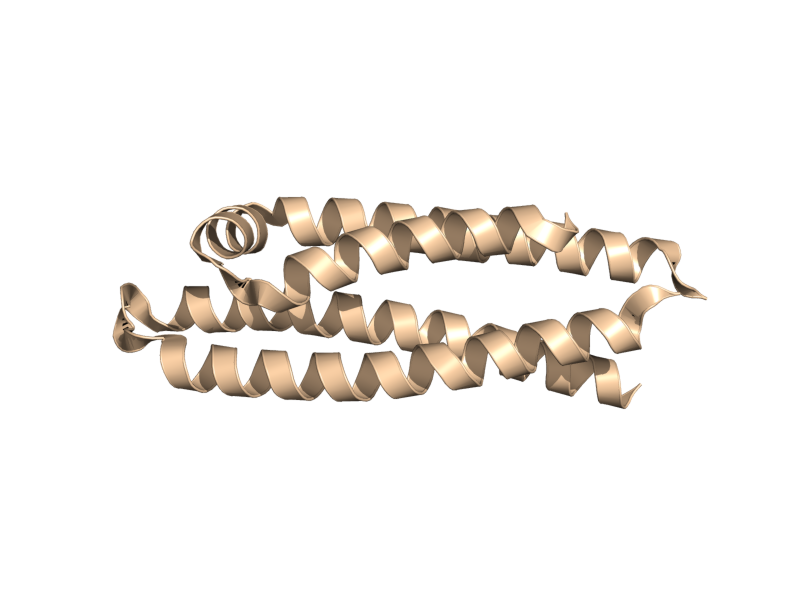
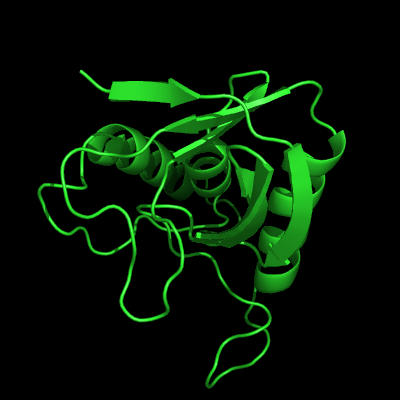
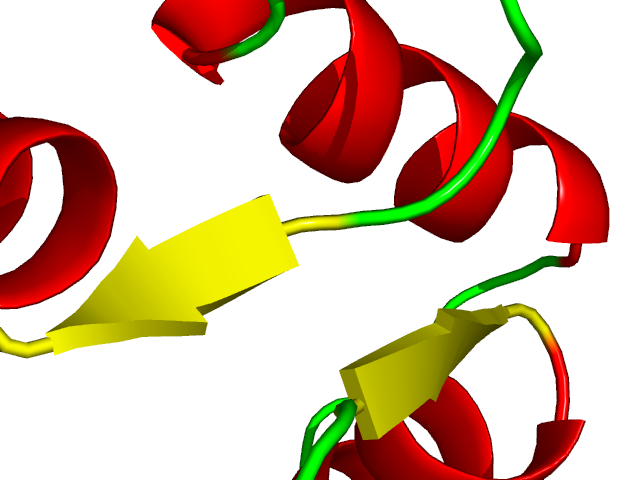
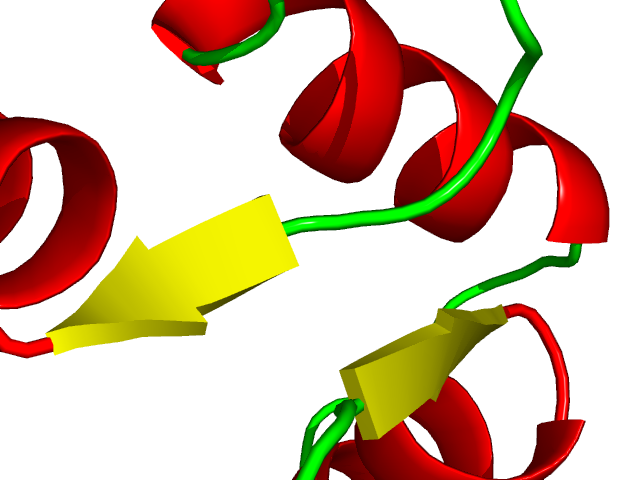
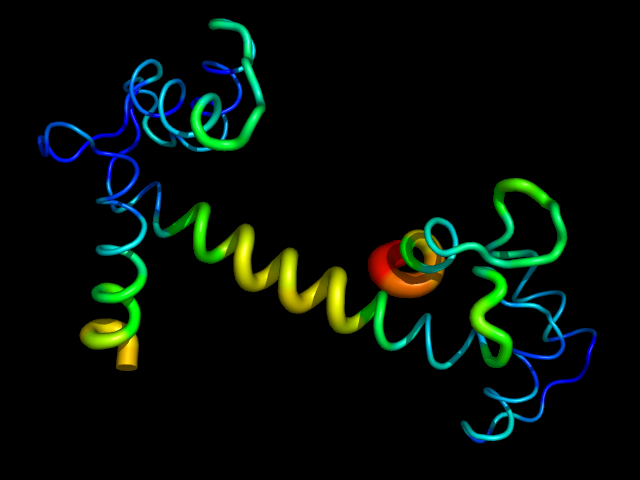
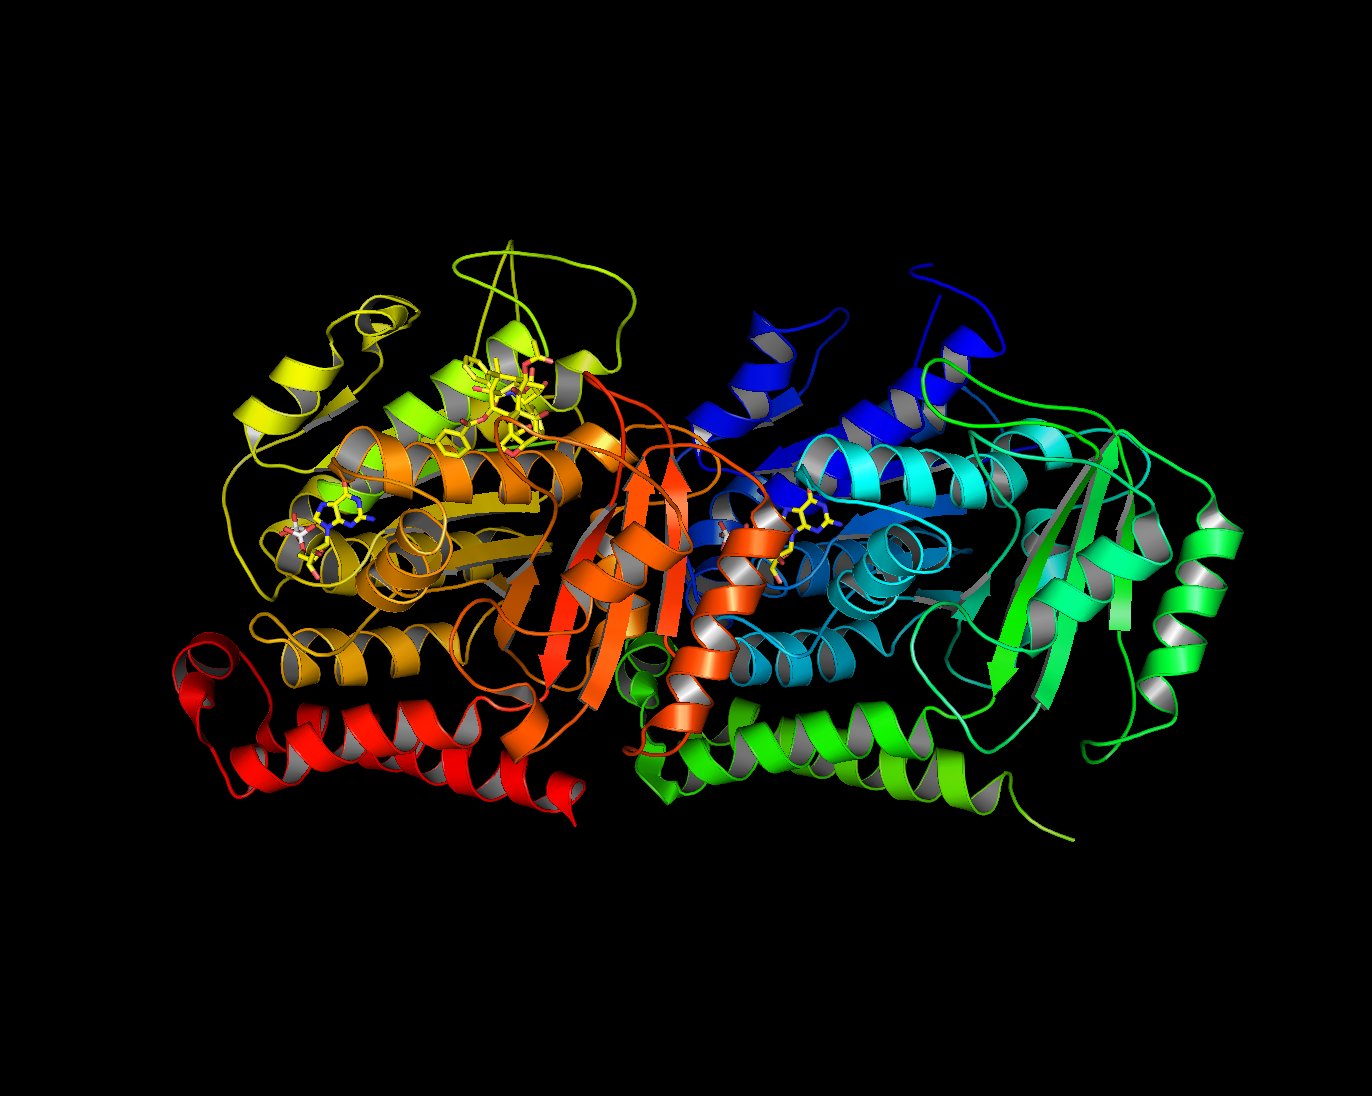
This is a read-only mirror of pymolwiki.org
Difference between revisions of "Cartoon"
m (1 revision) |
|||
| (17 intermediate revisions by 8 users not shown) | |||
| Line 4: | Line 4: | ||
===USAGE=== | ===USAGE=== | ||
| + | <source lang="python"> | ||
cartoon type, (selection) | cartoon type, (selection) | ||
| − | + | </source> | |
| − | type | + | |
| + | '''type:''' | ||
| + | * skip (-1) | ||
| + | * automatic (0) (use [[dss|ss]] property) | ||
| + | * loop (1) | ||
| + | * rectangle (2) | ||
| + | * oval (3) | ||
| + | * tube (4) | ||
| + | * arrow (5) | ||
| + | * dumbbell (6) (see also [[cartoon_fancy_helices]]) | ||
| + | * putty (7) (b-factor scaling) | ||
| + | * dash (8) ''(new in PyMOL 1.8.2)'' | ||
| + | |||
| + | <gallery widths="200px" heights="200px"> | ||
| + | Image:Cartoon_skip.png|cartoon_skip; yes, blank. | ||
| + | Image:Cartoon_automatic.png|cartoon_automatic | ||
| + | Image:Cartoon_loop.png|cartoon_loop | ||
| + | Image:Cartoon_rectangle.png|cartoon_rectangle | ||
| + | Image:Cartoon_oval.png|cartoon_oval | ||
| + | Image:Cartoon_tube.png|cartoon_tube | ||
| + | Image:Cartoon_arrow.png|cartoon_arrow | ||
| + | Image:Cartoon_dumbbell.png|cartoon_dumbbell | ||
| + | </gallery> | ||
===PYMOL API=== | ===PYMOL API=== | ||
| Line 38: | Line 61: | ||
<source lang="python"> | <source lang="python"> | ||
cartoon_loop_radius | cartoon_loop_radius | ||
| + | </source> | ||
| + | |||
| + | For nucleic acid backbones which resemble 'loops'; however, are not classified as such by PyMOL (see more about nucleic acid representation settings at bottom of page): | ||
| + | <source lang="python"> | ||
| + | cartoon_tube_radius,0.8 | ||
</source> | </source> | ||
For "fancy" α-helices: | For "fancy" α-helices: | ||
<source lang="python"> | <source lang="python"> | ||
| − | + | cartoon_dumbbell_length | |
| − | + | cartoon_dumbbell_width | |
| − | + | cartoon_dumbbell_radius (radius of cylinder at edge of helix ribbon) | |
</source> | </source> | ||
| + | |||
In each case "length" refers to what some might call the width and "width" refers to what some might call the thickness. | In each case "length" refers to what some might call the width and "width" refers to what some might call the thickness. | ||
| Line 54: | Line 83: | ||
===Forcing Exact Boundaries in Coloring Secondary Structures=== | ===Forcing Exact Boundaries in Coloring Secondary Structures=== | ||
| − | To force | + | To force PyMOL to respect secondary structural elements color-wise (PyMOL smooths out colors near color chagnes for a prettier image) use the following |
| − | + | PyMOL command: | |
<code> | <code> | ||
set cartoon_discrete_colors, on | set cartoon_discrete_colors, on | ||
| Line 63: | Line 92: | ||
== Sausage Representation == | == Sausage Representation == | ||
| − | The familiar sausage representation in | + | The familiar sausage representation in PyMOL is called, "putty". To enable the putty/sausage view simply do, |
show cartoon | show cartoon | ||
cartoon putty | cartoon putty | ||
| Line 85: | Line 114: | ||
| − | I'm sure there are other ways to do this. If you want to include it in a publication make sure you ray traced it large enough. For that, see [[ | + | I'm sure there are other ways to do this. If you want to include it in a publication make sure you ray traced it large enough. For that, see [[Publication_Quality_Images|Creating Publication Quality Images]]. |
==CA (Alpha Carbon) Trace== | ==CA (Alpha Carbon) Trace== | ||
| Line 97: | Line 126: | ||
==Various Transparency Levels== | ==Various Transparency Levels== | ||
[[Image:Cartoon_multi_transp.png|thumb|center|Example of Cartoon Multi-level Transparency. The near cartoon has transparency setting '''0.2''', the segment in the BG '''0.5'''.]] | [[Image:Cartoon_multi_transp.png|thumb|center|Example of Cartoon Multi-level Transparency. The near cartoon has transparency setting '''0.2''', the segment in the BG '''0.5'''.]] | ||
| − | One can make different cartoon selections have different transparency values, in | + | One can make different cartoon selections have different transparency values, in PyMOL. The trick here is to use "create" or "extract" instead of "select". Create makes new objects that can have independent settings while leaving the original object intact, whereas extract removes the specified atoms from the original object when creating the new object. |
<source lang="python"> | <source lang="python"> | ||
| Line 103: | Line 132: | ||
# transfer a piece of the molecule into a new object | # transfer a piece of the molecule into a new object | ||
| − | + | extract new_obj, chain A | |
| − | |||
| − | |||
# adjust trasparency for the new object | # adjust trasparency for the new object | ||
| − | |||
set cartoon_transparency, 0.5, new_obj | set cartoon_transparency, 0.5, new_obj | ||
</source> | </source> | ||
| Line 114: | Line 140: | ||
== Nucleic Acid Representation == | == Nucleic Acid Representation == | ||
[[Image:Nucleic1.png|thumb|center|Showing Nucleic Acids]] | [[Image:Nucleic1.png|thumb|center|Showing Nucleic Acids]] | ||
| + | To control radius of nucleic acids default backbone cartoon: | ||
| + | <source lang="python"> | ||
| + | set cartoon_tube_radius,0.8 #0.5 seems close to the default setting | ||
| + | </source> | ||
| + | |||
To show nucleic acids in a nicer format do: | To show nucleic acids in a nicer format do: | ||
<source lang="python"> | <source lang="python"> | ||
| Line 119: | Line 150: | ||
show cartoon | show cartoon | ||
</source> | </source> | ||
| + | |||
| + | |||
=== Other Nucleic Acids & Cartoon Settings === | === Other Nucleic Acids & Cartoon Settings === | ||
| Line 146: | Line 179: | ||
set cartoon_dumbbell_radius, 0.4 | set cartoon_dumbbell_radius, 0.4 | ||
</source> | </source> | ||
| − | [[ | + | [[Overview of nucleic acid cartoons]] |
[[Examples of nucleic acid cartoons]] | [[Examples of nucleic acid cartoons]] | ||
| + | |||
| + | == Breaking Up a Visualization with Cartoon Skip == | ||
| + | <source lang="python"> | ||
| + | fetch 1cll, async=0 | ||
| + | |||
| + | create a_copy, 1cll | ||
| + | |||
| + | # show them as cartoons | ||
| + | |||
| + | color blue, 1cll | ||
| + | |||
| + | set cartoon_highlight_color, green, 1cll | ||
| + | |||
| + | color marine, a_copy | ||
| + | |||
| + | set cartoon_highlight_color, magenta, a_copy | ||
| + | |||
| + | # select the region of interest | ||
| + | |||
| + | select to_hide, i. 0-79 | ||
| + | |||
| + | show_as cartoon | ||
| + | |||
| + | cartoon skip, to_hide and 1cll | ||
| + | |||
| + | orient | ||
| + | |||
| + | # hide/skip this section in the original | ||
| + | |||
| + | cartoon skip, i. 81-200 and a_copy | ||
| + | |||
| + | ray | ||
| + | |||
| + | </source> | ||
| + | |||
== See Also == | == See Also == | ||
| Line 155: | Line 223: | ||
[[Category:Representations|Cartoon]] | [[Category:Representations|Cartoon]] | ||
[[Category:Nucleic_Acids|Cartoon]] | [[Category:Nucleic_Acids|Cartoon]] | ||
| + | [[Category:Putty]] | ||
Latest revision as of 04:03, 8 January 2018
Cartoon Command
DESCRIPTION
cartoon changes the default cartoon for a set of atoms.
USAGE
cartoon type, (selection)
type:
- skip (-1)
- automatic (0) (use ss property)
- loop (1)
- rectangle (2)
- oval (3)
- tube (4)
- arrow (5)
- dumbbell (6) (see also cartoon_fancy_helices)
- putty (7) (b-factor scaling)
- dash (8) (new in PyMOL 1.8.2)
PYMOL API
cmd.cartoon(string type, string selection )
EXAMPLES
cartoon rectangle,(chain A)
cartoon skip,(resi 145:156)
NOTES
the "automatic" mode utilizes ribbons according to the information in the PDB HELIX and SHEET records.
Adjusting width of cartoon
Try varying the following.
For β-strands:
cartoon_rect_length
cartoon_rect_width
For α-helices:
cartoon_oval_length
cartoon_oval_width
For loops:
cartoon_loop_radius
For nucleic acid backbones which resemble 'loops'; however, are not classified as such by PyMOL (see more about nucleic acid representation settings at bottom of page):
cartoon_tube_radius,0.8
For "fancy" α-helices:
cartoon_dumbbell_length
cartoon_dumbbell_width
cartoon_dumbbell_radius  (radius of cylinder at edge of helix ribbon)
In each case "length" refers to what some might call the width and "width" refers to what some might call the thickness.
Forcing Exact Boundaries in Coloring Secondary Structures
To force PyMOL to respect secondary structural elements color-wise (PyMOL smooths out colors near color chagnes for a prettier image) use the following
PyMOL command:
set cartoon_discrete_colors, on
Sausage Representation
The familiar sausage representation in PyMOL is called, "putty". To enable the putty/sausage view simply do,
show cartoon
cartoon putty
unset cartoon_smooth_loops
unset cartoon_flat_sheets
As of v 0.98 or so, there's a Putty option. Use this.
Black and White Representation
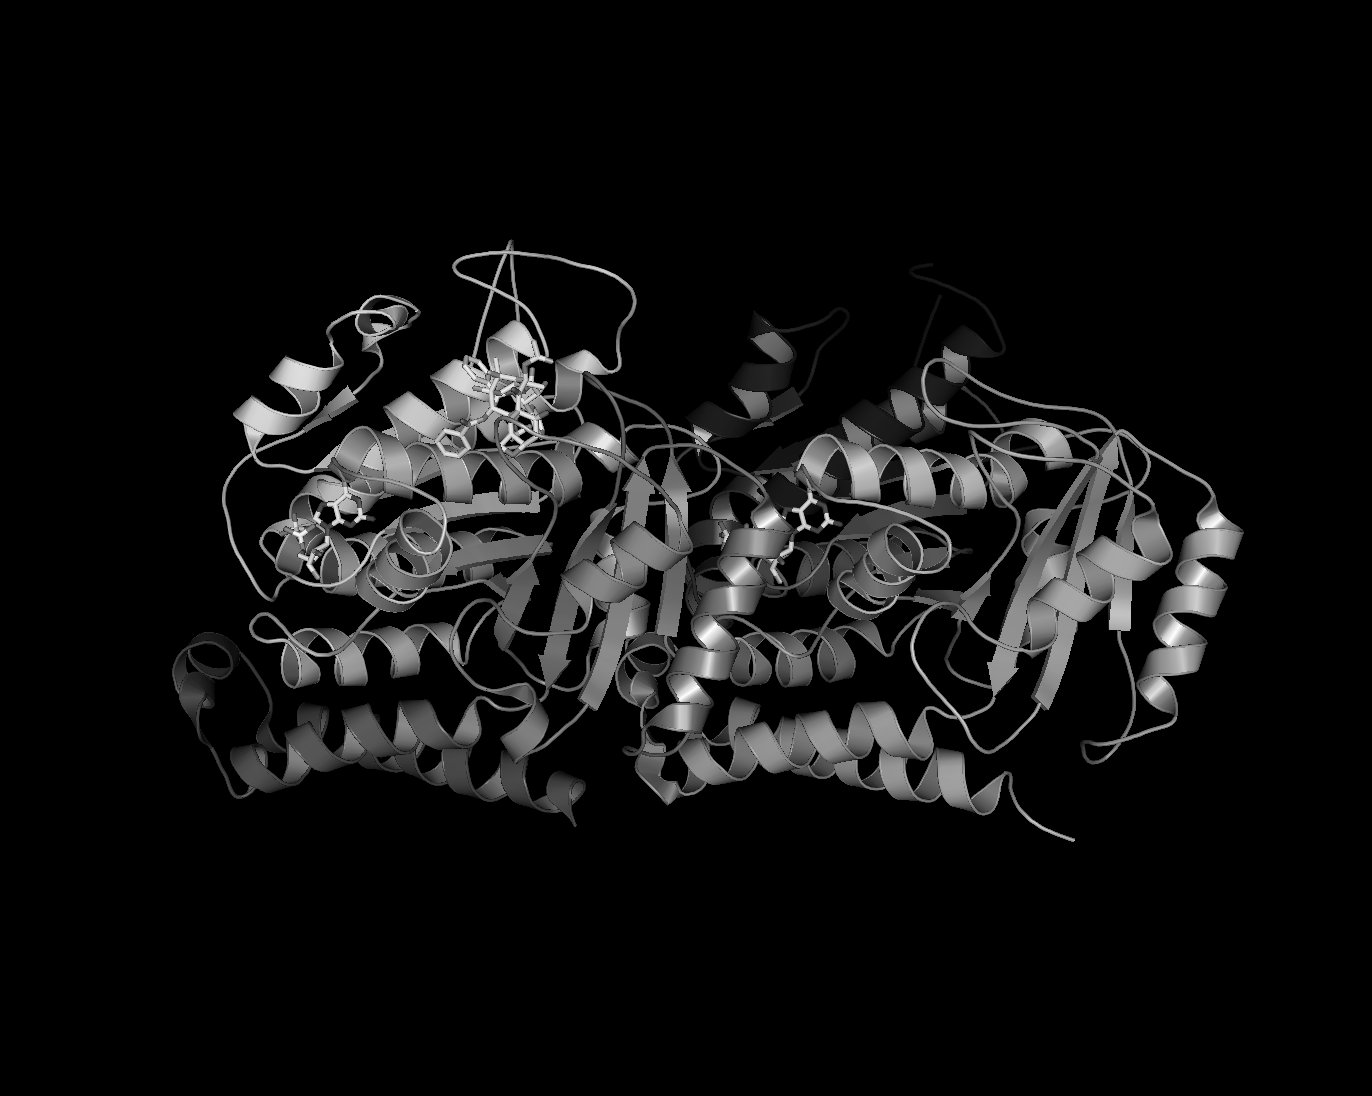
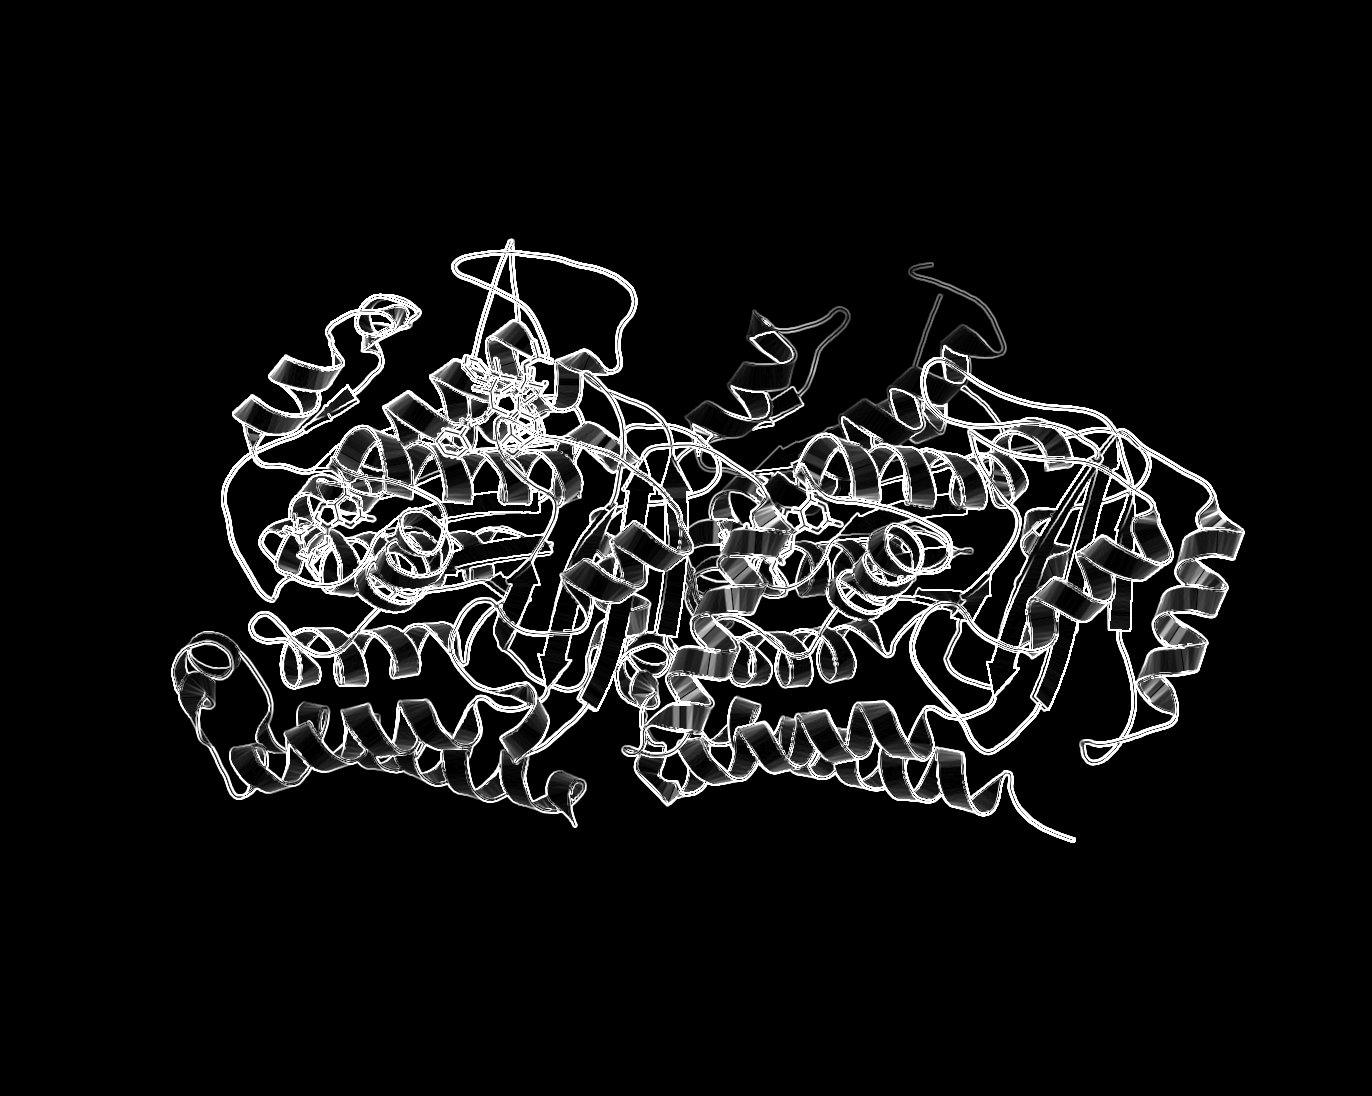
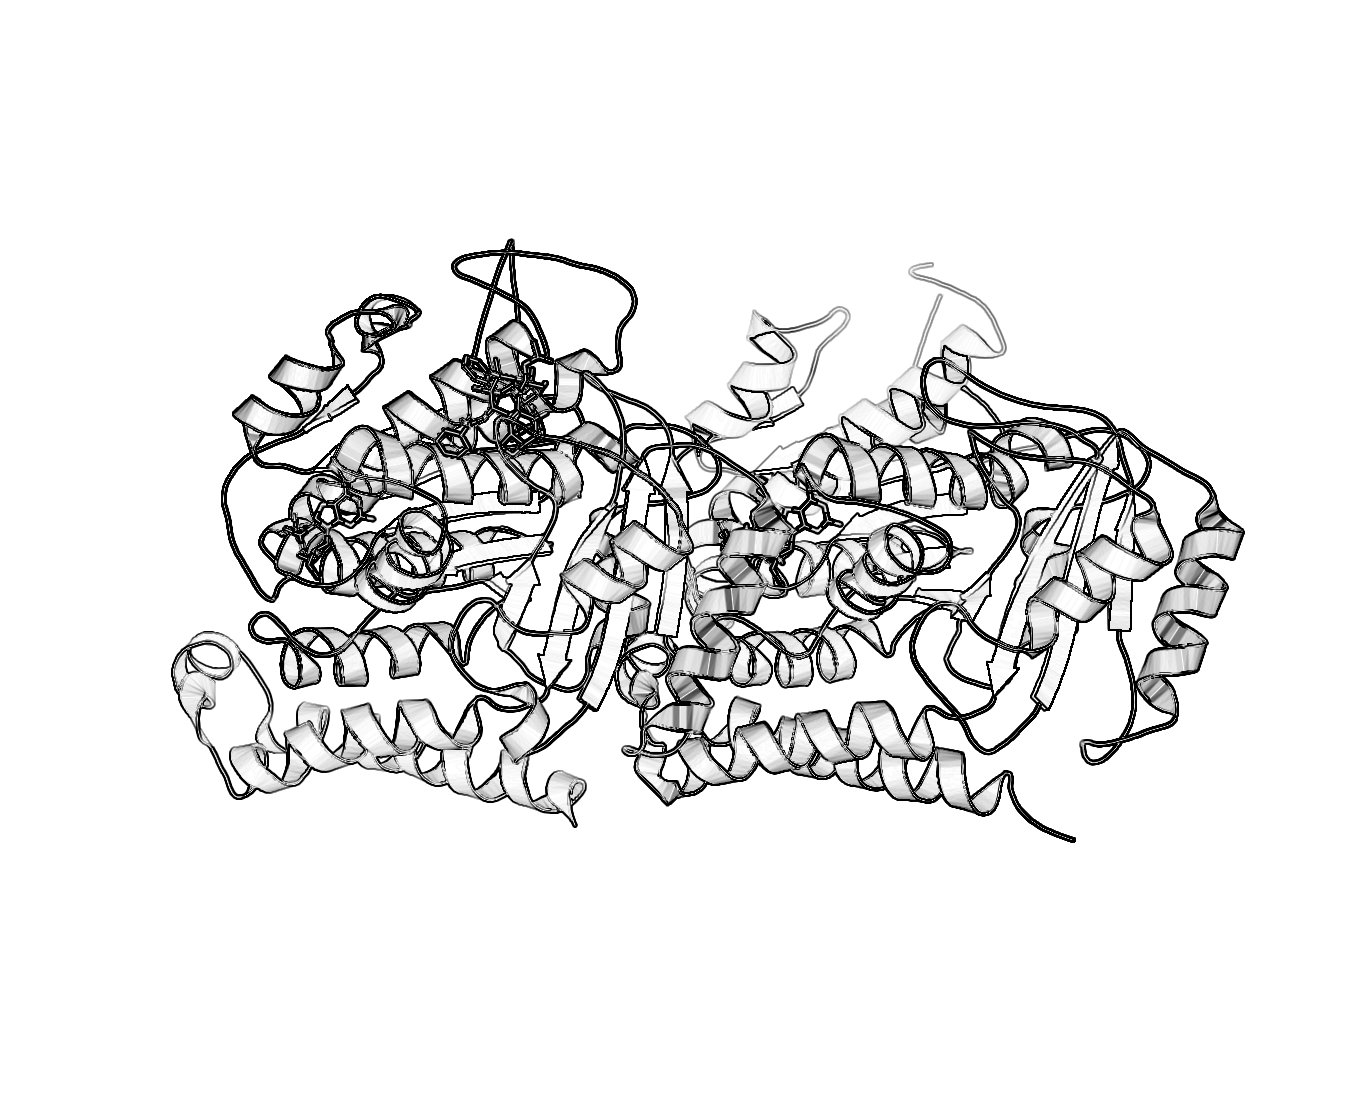
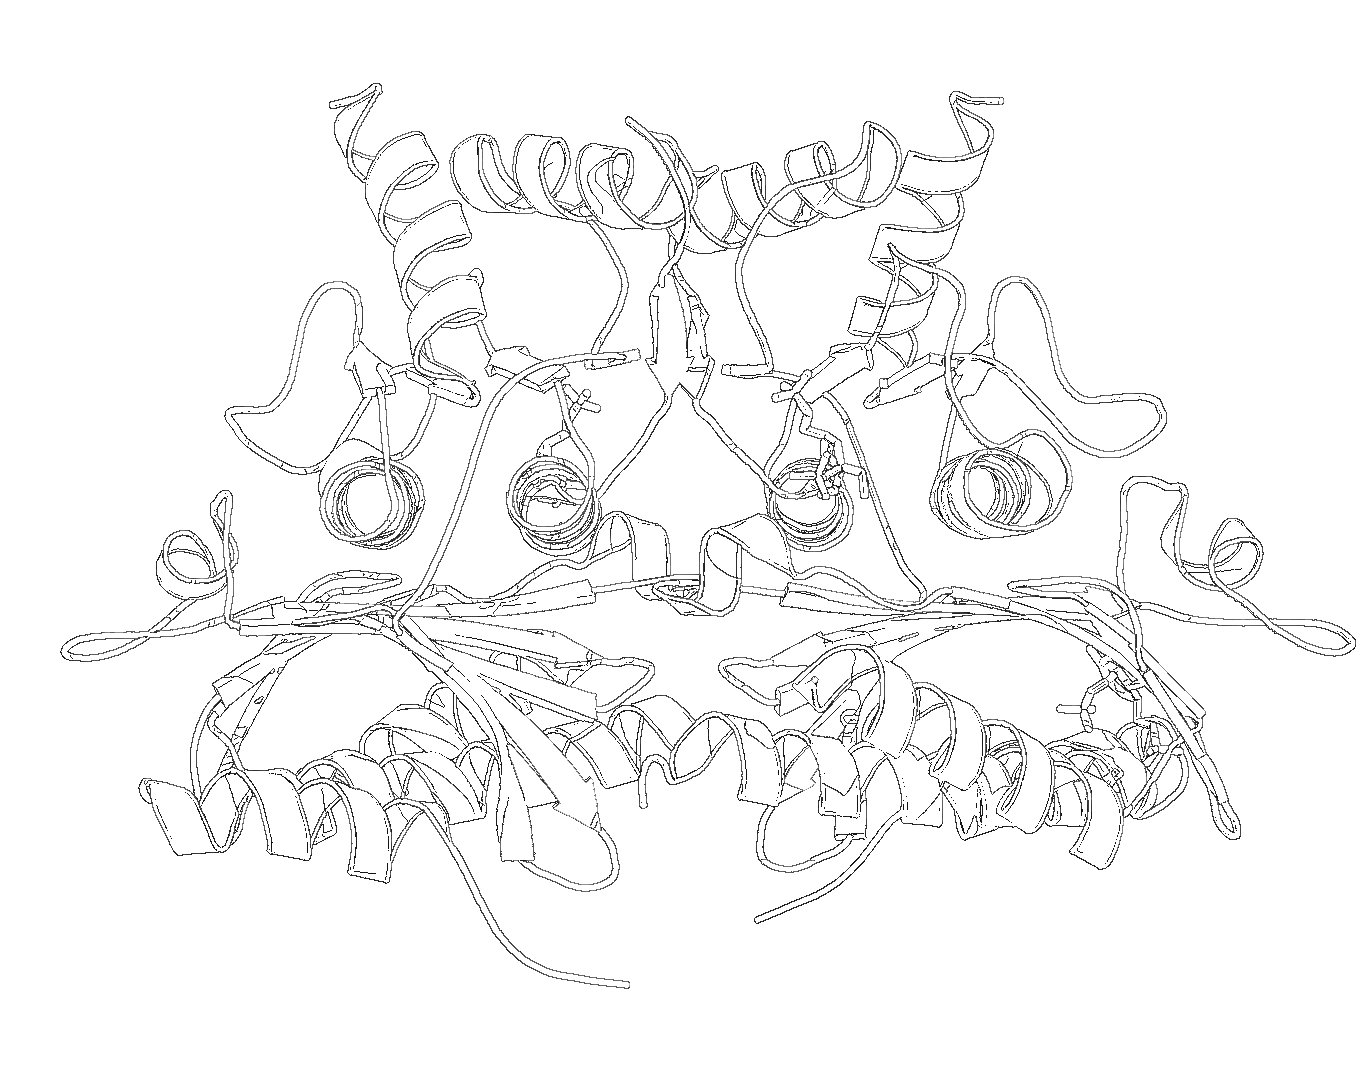
UPDATE: This method is essentially obseleted by the new setting set ray_trace_mode,2. More information on this at Ray. For those who want a nifty black and white representation of their protein try the following:
- Ray trace your protein of choice in a cartoon representation use a BLACK background
- Save the image
- Load the image in GIMP.
- Desaturate or Grayscale the image.
- Run the filter: Filter->Edge-Detect->Edge.
- Select: Layers->Color->Invert.
- Different methods of edge detection will give you different results. In the last example, I used Laplace Edge-Detect, then painted an all white layer beneath the current layer to achieve the results.
I'm sure there are other ways to do this. If you want to include it in a publication make sure you ray traced it large enough. For that, see Creating Publication Quality Images.
CA (Alpha Carbon) Trace
If you have a structure with just a alpha carbon trace, you can get a cartoon by
set cartoon_trace,1
show cartoon
If your structure is more than just the CA backbone, the cartoon representation will look incorrect, so use it just with CA trace.
Various Transparency Levels
One can make different cartoon selections have different transparency values, in PyMOL. The trick here is to use "create" or "extract" instead of "select". Create makes new objects that can have independent settings while leaving the original object intact, whereas extract removes the specified atoms from the original object when creating the new object.
load mol_obj.pdb

# transfer a piece of the molecule into a new object
extract new_obj, chain A

# adjust trasparency for the new object
set cartoon_transparency, 0.5, new_obj
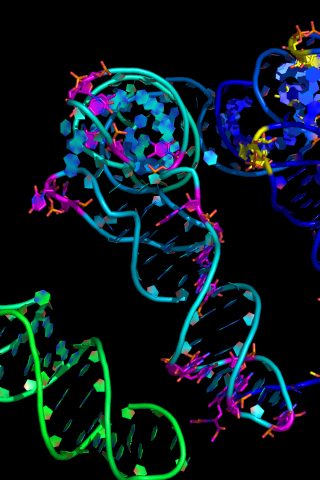
Nucleic Acid Representation
To control radius of nucleic acids default backbone cartoon:
set cartoon_tube_radius,0.8 #0.5 seems close to the default setting
To show nucleic acids in a nicer format do:
 set cartoon_ring_mode,1
 show cartoon
Other Nucleic Acids & Cartoon Settings
Here are some things to try:
set cartoon_ring_mode, 1   # (or 2 or 3)
set cartoon_ring_finder, 1 # (or 2 or 3 or 4)
set cartoon_nucleic_acid_mode, 0   # (or 1 or 2 or 3 or 4)

set cartoon_side_chain_helper
rebuild

set cartoon_ring_transparency, 0.5

set cartoon_ladder_mode, 0 # or 1

set cartoon_ladder_color, color-name
set cartoon_nucleic_acid_color, color-name

cartoon oval
set cartoon_oval_width, 0.8

cartoon rect

cartoon dumbbell
set cartoon_dumbbell_width, 0.4
set cartoon_dumbbell_radius, 0.4
Overview of nucleic acid cartoons
Examples of nucleic acid cartoons
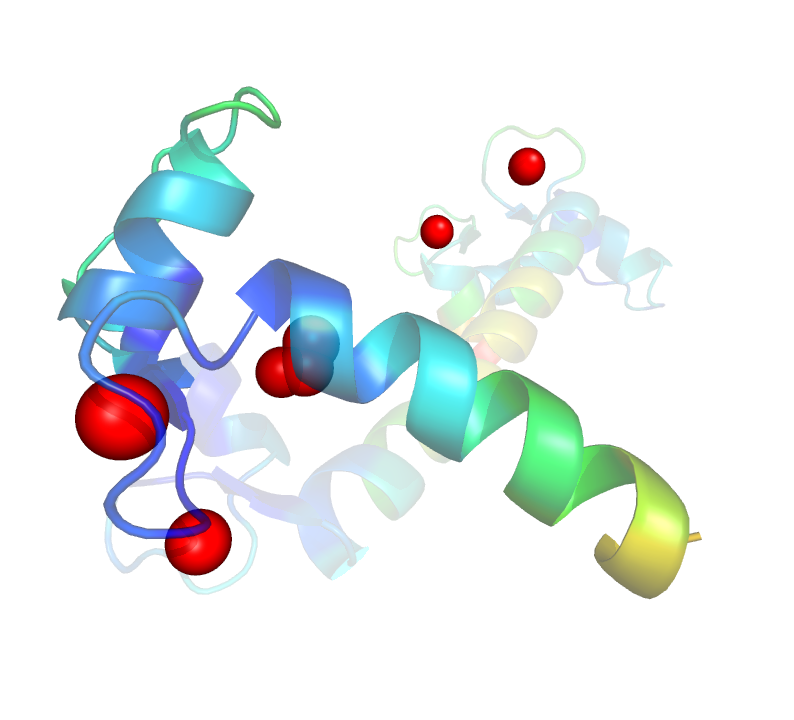
Breaking Up a Visualization with Cartoon Skip
fetch 1cll, async=0

create a_copy, 1cll

# show them as cartoons

color blue, 1cll

set cartoon_highlight_color, green, 1cll

color marine, a_copy

set cartoon_highlight_color, magenta, a_copy

# select the region of interest

select to_hide, i. 0-79

show_as cartoon

cartoon skip, to_hide and 1cll

orient

# hide/skip this section in the original

cartoon skip, i. 81-200 and a_copy

ray

