This is a read-only mirror of pymolwiki.org
Difference between revisions of "Cartoon"
| Line 48: | Line 48: | ||
In each case "length" refers to what some might call the width and "width" refers to what some might call the thickness. | In each case "length" refers to what some might call the width and "width" refers to what some might call the thickness. | ||
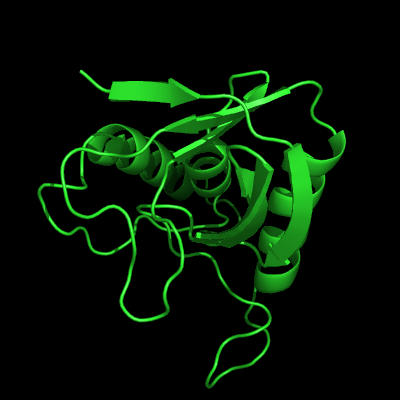
| − | [[Image:Cartoon_ex.png|thumb|Cartoon Representation Example]] | + | |
| + | [[Image:Cartoon_ex.png|thumb|center|Cartoon Representation Example|300px]] | ||
| + | |||
===Forcing Exact Boundaries in Coloring Secondary Structures=== | ===Forcing Exact Boundaries in Coloring Secondary Structures=== | ||
| Line 57: | Line 59: | ||
</code> | </code> | ||
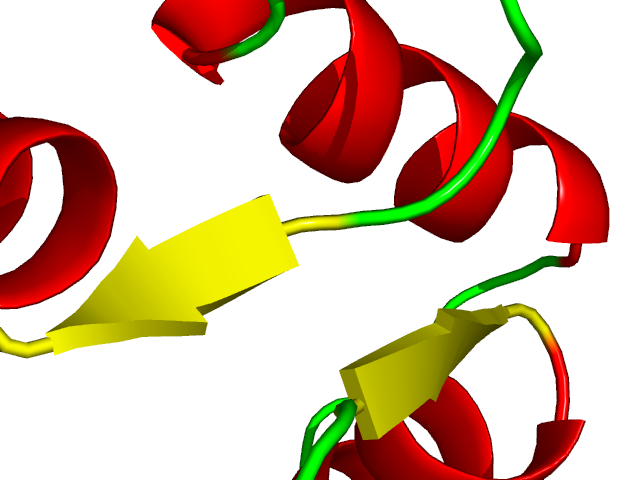
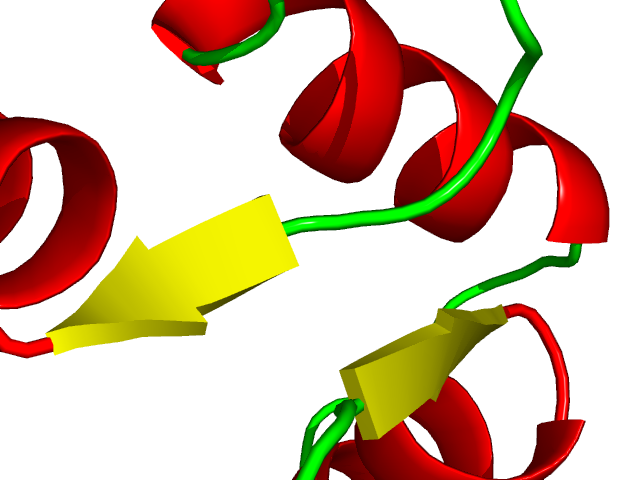
| − | [[Image:Cartoon_discrete_color0.png|Discrete Coloring Off| | + | [[Image:Cartoon_discrete_color0.png|Discrete Coloring Off|center|thumb]] [[Image:Cartoon_discrete_color1.png|Discrete Coloring On|center|thumb]] |
| + | |||
== Sausage Representation == | == Sausage Representation == | ||
| Line 68: | Line 71: | ||
==Black and White Representation== | ==Black and White Representation== | ||
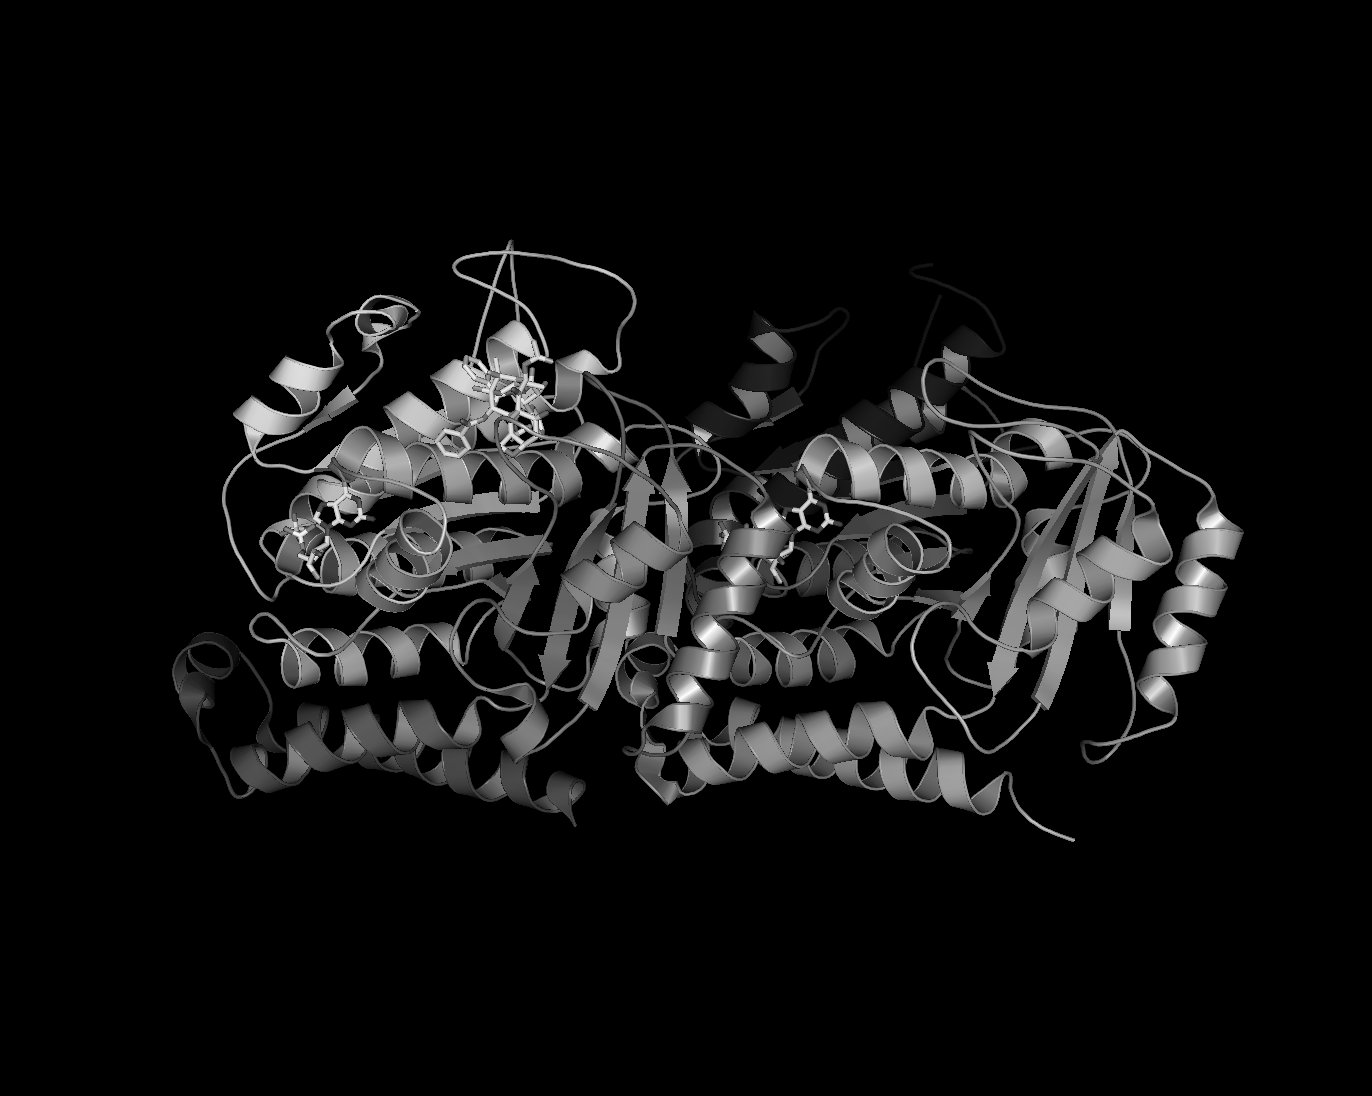
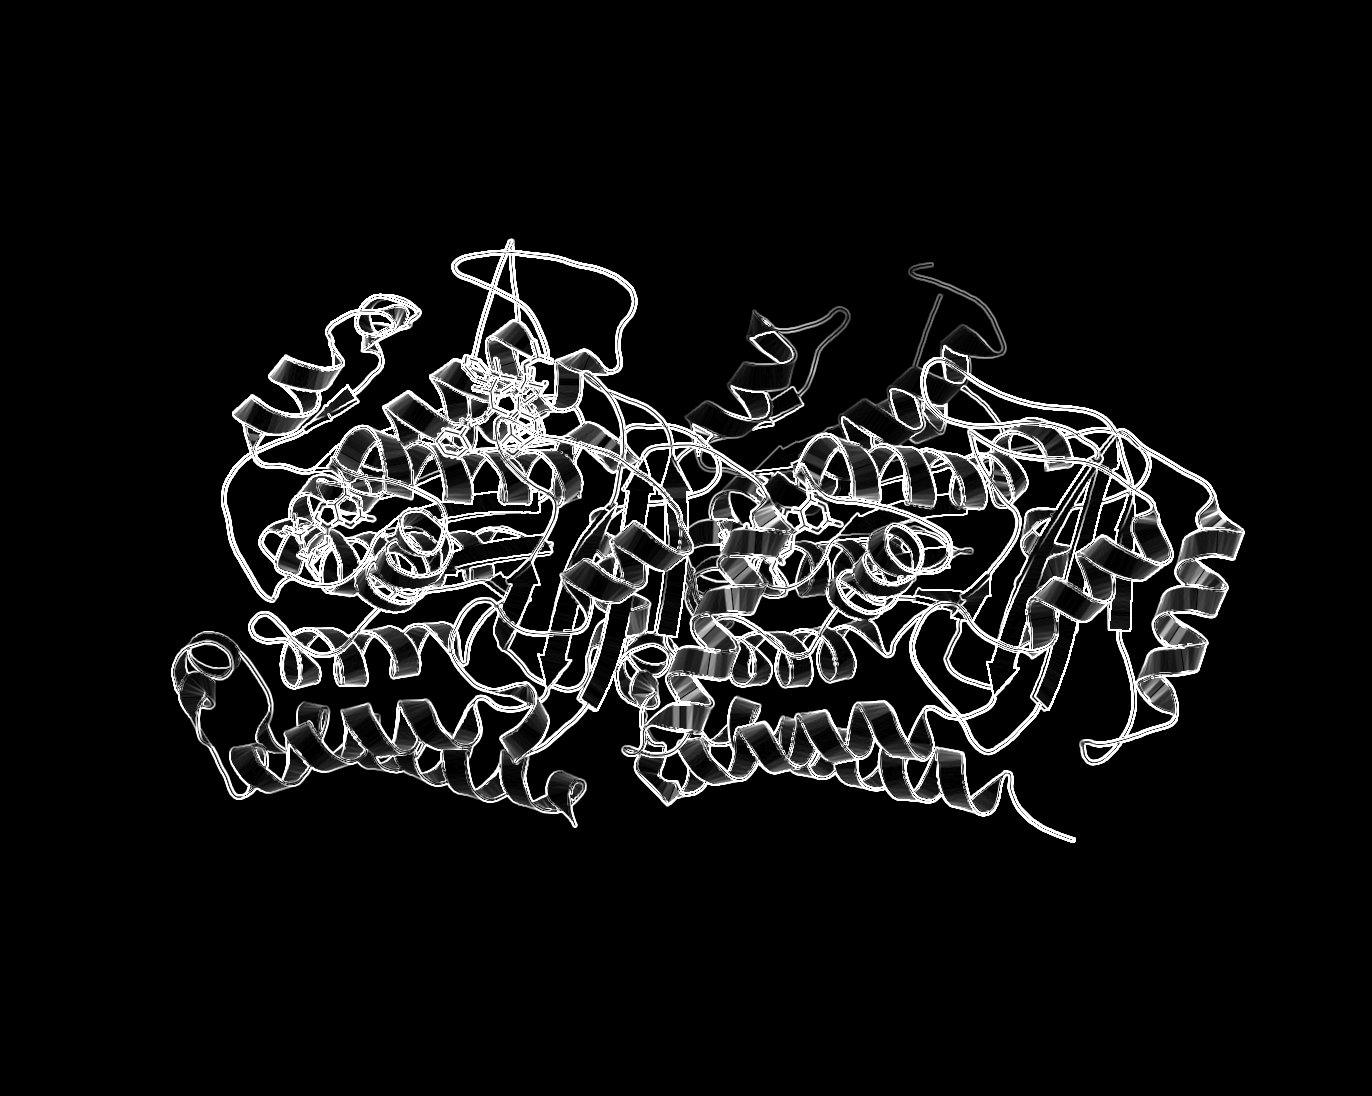
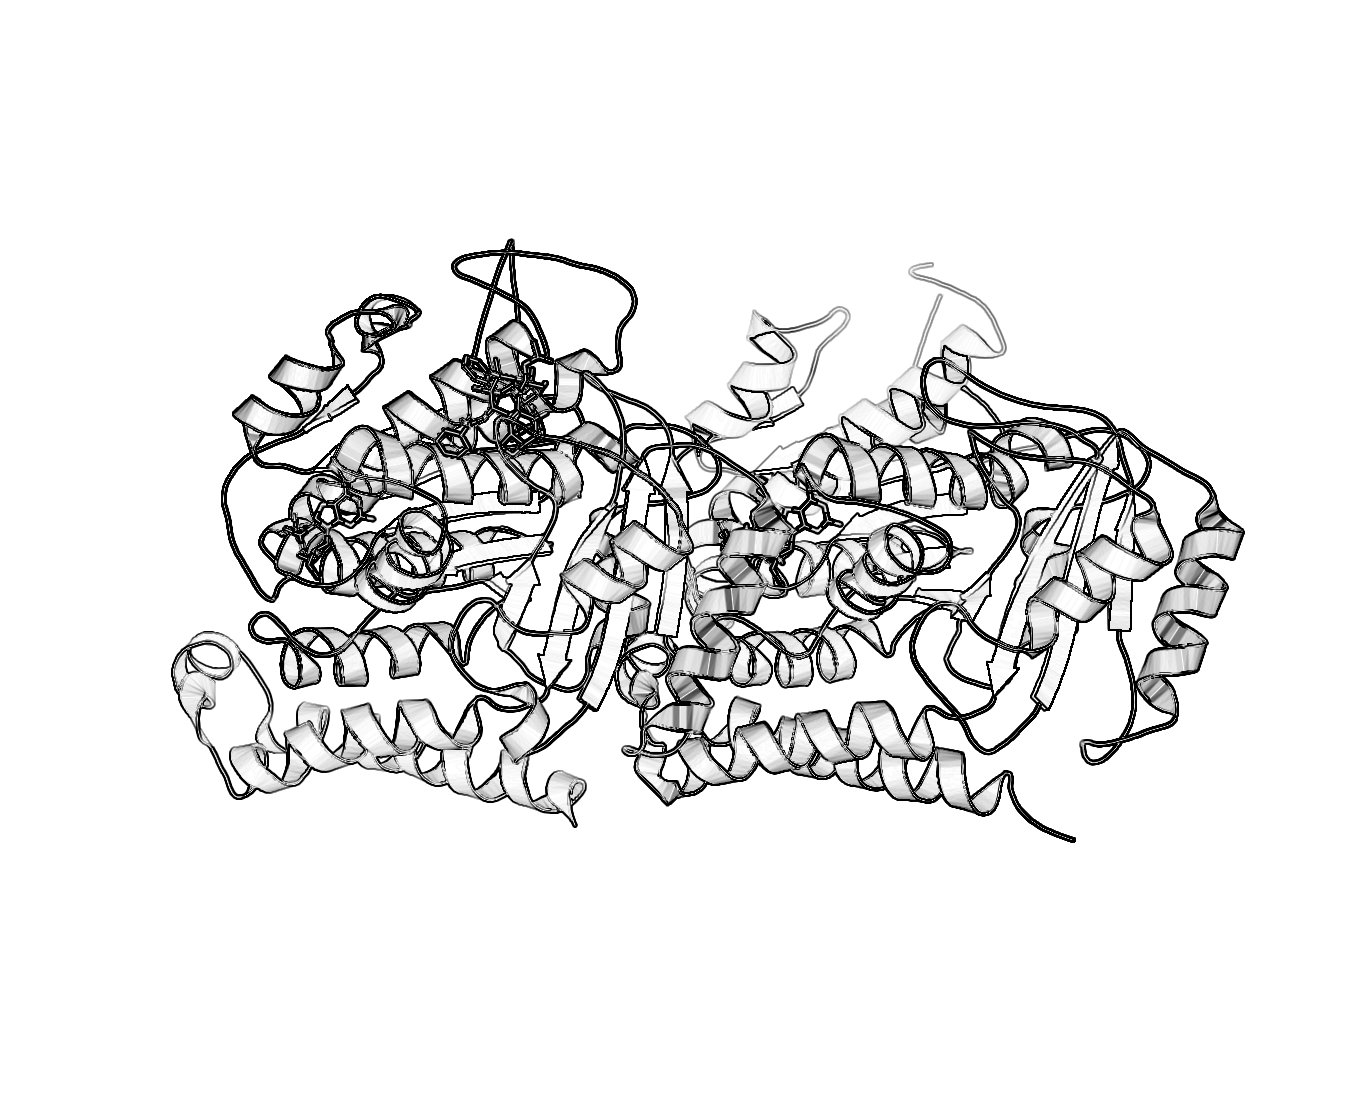
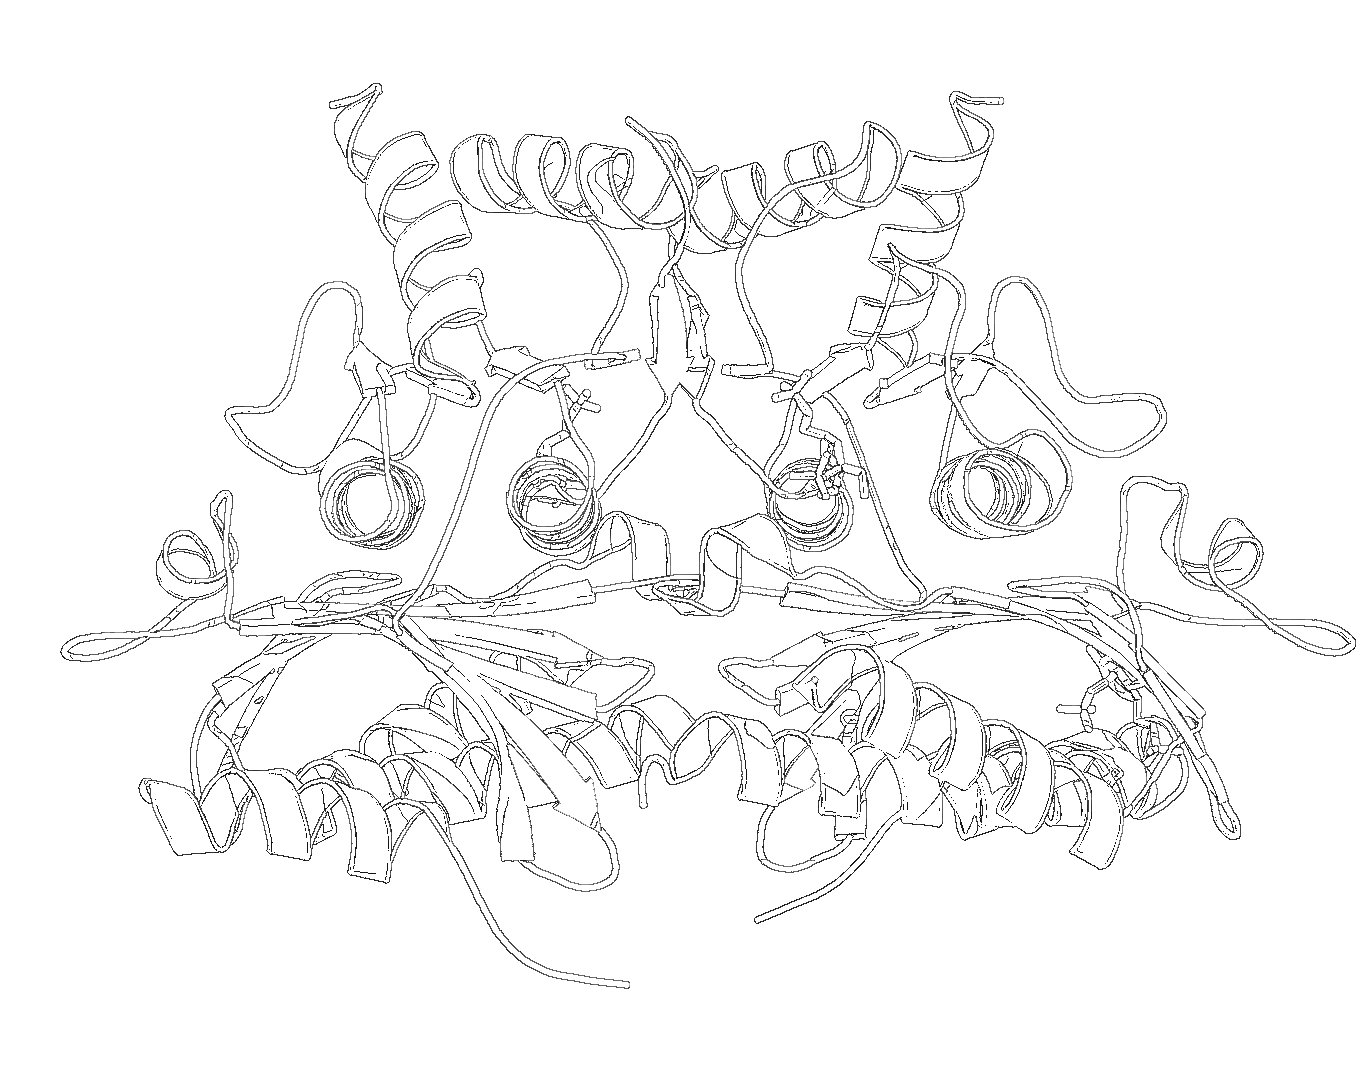
For those who want a nifty black and white representation of their protein try the following: | For those who want a nifty black and white representation of their protein try the following: | ||
| − | + | # Ray trace your protein of choice in a cartoon representation use a BLACK background | |
| − | + | # Save the image | |
| − | + | # Load the image in GIMP. [[Image:Bw1.jpeg|thumb|Black BG Ribbon|center|350px]] | |
| − | + | # Desaturate or Grayscale the image. [[Image:Bw2.jpeg|thumb|Grayscale|center|350px]] | |
| − | + | # Run the filter: Filter->Edge-Detect->Edge. [[Image:Bw3.jpeg|thumb|Edge Detect|center|350px]] | |
| − | + | # Select: Layers->Color->Invert. [[Image:Bw4.jpeg|thumb|Invert Color|center|350px]] | |
| + | # Different methods of edge detection will give you different results. In the last example, I used Laplace Edge-Detect, then painted an all white layer beneath the current layer to achieve the results. [[Image:Bw5.jpeg|thumb|Other Styles|center|350px|Comments]] | ||
| − | |||
I'm sure there are other ways to do this. If you want to include it in a publication make sure you ray traced it large enough. For that, see [[:Category:Advanced_Issues_Image_Manipulation_Publication_Quatlity_Images|Creating Publication Quality Images]]. | I'm sure there are other ways to do this. If you want to include it in a publication make sure you ray traced it large enough. For that, see [[:Category:Advanced_Issues_Image_Manipulation_Publication_Quatlity_Images|Creating Publication Quality Images]]. | ||
Revision as of 21:22, 16 May 2005
Cartoon Command
DESCRIPTION
"cartoon" changes the default cartoon for a set of atoms.
USAGE
  cartoon type, (selection)

  type = skip | automatic | loop | rectangle | oval | tube | arrow | dumbbell
PYMOL API
cmd.cartoon(string type, string selection )
EXAMPLES
  cartoon rectangle,(chain A)
  cartoon skip,(resi 145:156)
NOTES
   the "automatic" mode utilizes ribbons according to the
  information in the PDB HELIX and SHEET records.
Adjusting width of cartoon
Try varying the following.
For strands:
cartoon_rect_length
cartoon_rect_width
For helices:
cartoon_oval_length
cartoon_oval_width
or for "fancy" helices:
cartoon_dumbell_length
cartoon_dumbell_width
cartoon_dumbell_radius  (radius of cylinder at edge of helix ribbon)
In each case "length" refers to what some might call the width and "width" refers to what some might call the thickness.
Forcing Exact Boundaries in Coloring Secondary Structures
To force PyMol to respect secondary structural elements color-wise (PyMol smooths out colors near color chagnes for a prettier image) use the following
PyMol command:
set cartoon_discrete_colors, on
Sausage Representation
The familiar sausage representation in PyMol is called, "putty". To enable the putty/sausage view simply do,
show cartoon
cartoon putty
unset cartoon_smooth_loops
unset cartoon_flat_sheets
Black and White Representation
For those who want a nifty black and white representation of their protein try the following:
- Ray trace your protein of choice in a cartoon representation use a BLACK background
- Save the image
- Load the image in GIMP.
- Desaturate or Grayscale the image.
- Run the filter: Filter->Edge-Detect->Edge.
- Select: Layers->Color->Invert.
- Different methods of edge detection will give you different results. In the last example, I used Laplace Edge-Detect, then painted an all white layer beneath the current layer to achieve the results.
I'm sure there are other ways to do this. If you want to include it in a publication make sure you ray traced it large enough. For that, see Creating Publication Quality Images.
